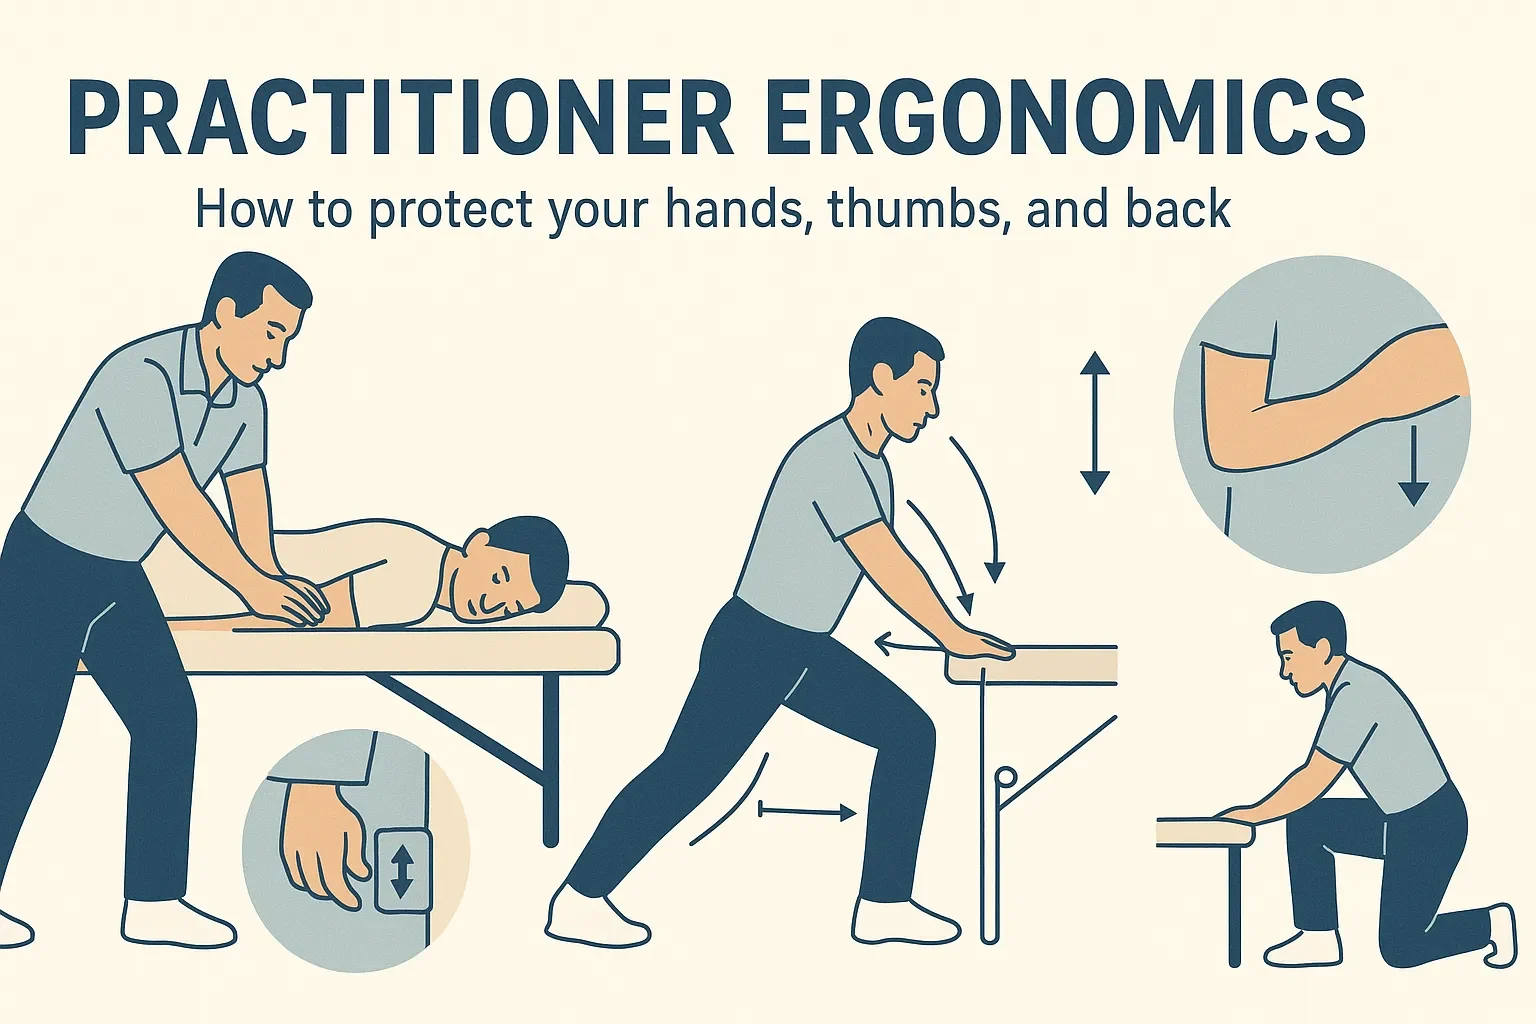
How to protect your hands, thumbs, and back—body mechanics for a long, pain-free career
Your hands and back are not just “tools”—they’re your business model. Most early-career practitioners get hurt for three simple reasons: (1) using thumbs for everything, (2) bending from the spine instead of hinging from the hips, and (3) treating all day without planned micro-recovery. Build good habits now and you’ll still love treating 10, 20, even 30 years from today.
The Ergonomic Blueprint
1) Set up your space to do half the work for you
Table height:
- For soft tissue work: set the table a bit higher so you can work comfortably without bending too far.
- For mobilizations or techniques needing body weight: lower the table so you can lean in, using your body weight as force. This reduces strain on your elbows and shoulders.
- Pro tip: An electric high–low table is one of the best investments you can make in yourself. The ability to adjust the height instantly between patients—or even within a session—will protect your body and help you enjoy a much longer, pain-free career.
Room layout: Keep lotions, towels, cups, and tools within a half-turn reach. If you’re twisting your spine to grab things, rearrange.
Seating: Use a height-adjustable stool with lumbar support; plant both feet when seated.
Lighting & markers: Place a small dot of tape on the wall at your eye line and another at the baseboard—reminders to keep ribs stacked over pelvis and to hinge at the hips instead of rounding your back.
2) Deliver force from the ground up (not from your thumbs)
- Stance: Staggered or split stance, feet about hip width.
- Stacking: Ears → ribs → pelvis in one line; soften the knees.
- Hip hinge: Hinge like a deadlift, not a slouch. Your torso moves as one piece.
- Body rock: Use a gentle forward–back rock to load pressure rather than pushing with the arms.
3) Upper-limb alignment that saves wrists
- Neutral wrist: Keep a straight line from mid-forearm through the middle finger.
- Shoulder set: Down and wide; think “put the shoulder blades in your back pockets.”
4) The Thumb-Longevity Protocol
Rule 1: Thumbs are for precision, not for power or duration.
Rule 2: If you feel thumb compression in the first MCP or CMC joint, swap immediately.
Smart swaps
- Deep point work → reinforced thumb (thumb stacked over the side of the index) → knuckle/fist → forearm → elbow (progress from small to big as load increases).
- Broad pressure along paraspinals → forearm glide or elbow with slow body rock.
- Sustained trigger-point holds → tool-assisted (scraper, pressure knob) with gentle oscillation.
- Friction works around tendons → switch fingers/hands every 15–20 seconds to avoid hot spots.
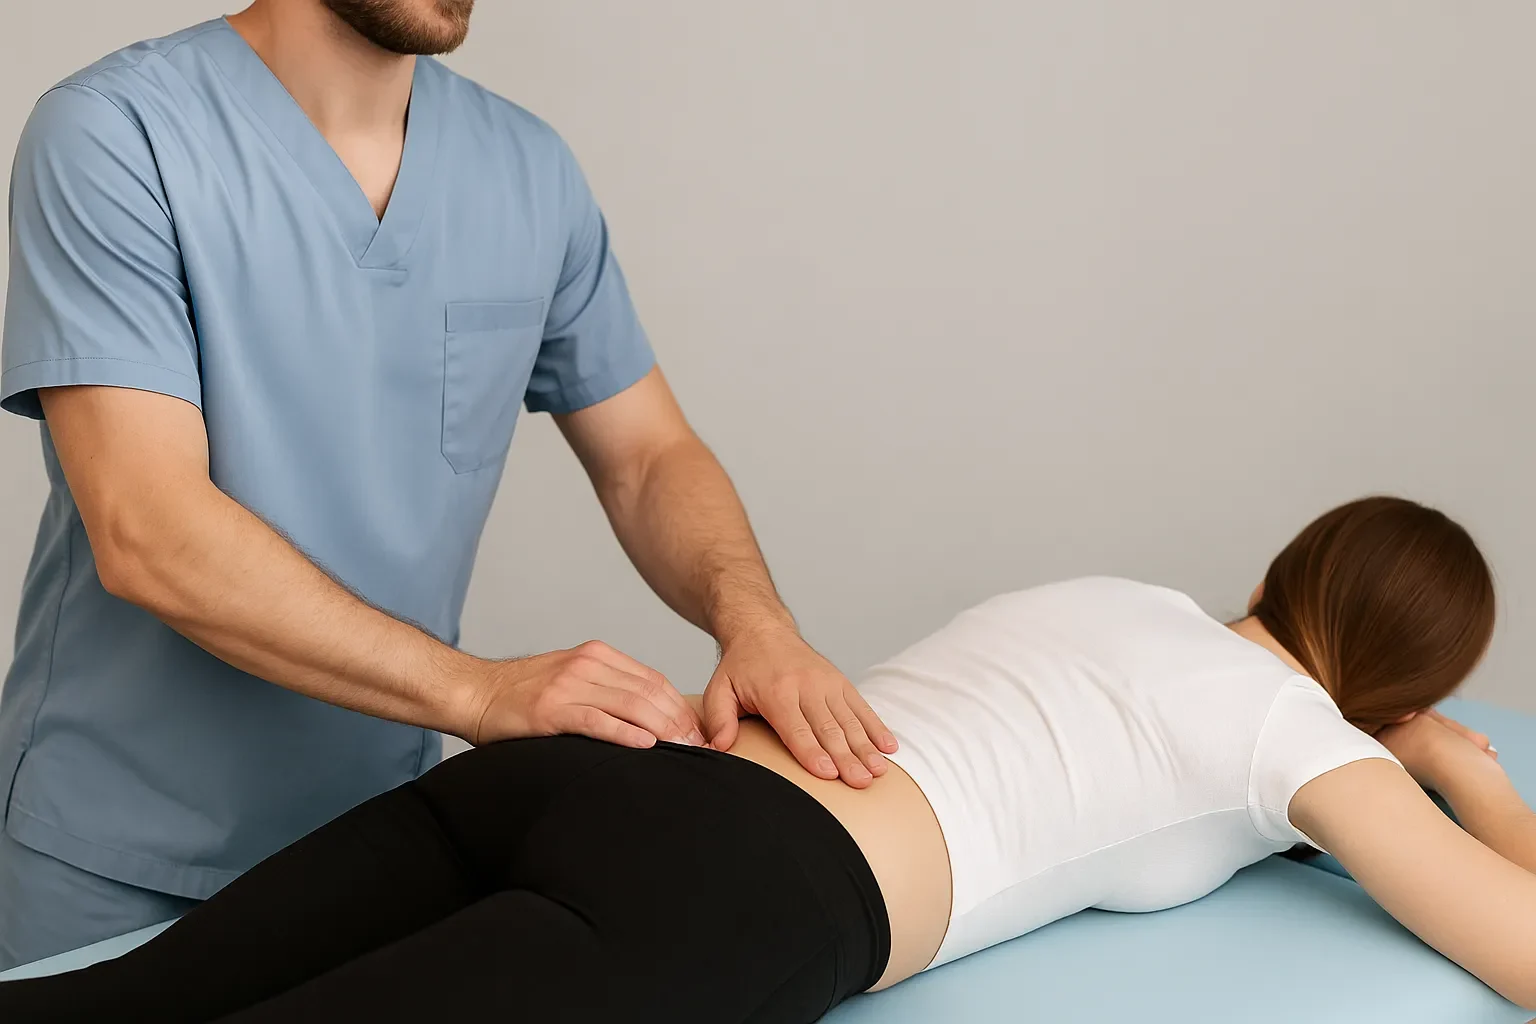
5) Patient positioning that saves your back
- When working lumbar or gluteals, raise the table or drop to a lunge/kneel—don’t fold from your spine.
- For cervical work, bring the head closer to your center—walk your feet instead of reaching.
- Use side-lying for shoulder and hip work if prone/supine strains your low back.
On-Shift Micro-Recovery (small hinges that swing big doors)
60-second warm-up (before your first patient)
- Cat–cow × 6
- “World’s Greatest Stretch” × 2/side
- Forearm flexor & extensor stretch 20s each
- Deep squat reach × 5
Between-patient reset (30–45 seconds)
- Wrist circles × 10 each way
- Shoulder rolls × 10
- Hip-hinge hamstring stretch × 2 × 10 breaths
- Shake out hands and take three slow exhales
End-of-day decompression (3–5 minutes)
- Thoracic extension over towel/foam (mid-back) 1–2 min
- Half-kneeling hip-flexor stretch 45s/side
- Forearm stretch + gentle nerve glide 30s/side
- 90/90 breathing (feet on wall, knees and hips at 90°) × 5 slow breaths
Strength That Pays the Bills (2 days/week, 20–25 minutes)
Circuit A (Day 1)
- Hip hinge (Romanian deadlift/kettlebell) 3×8
- Half-kneeling cable/band row 3×10/side
- Pallof press 3×8/side
- Farmer carry 3×30–45s
Circuit B (Day 2)
- Split squat or reverse lunge 3×8/side
- Push-up to tall plank 3×6–10
- Side plank 3×20–30s/side
- Towel/rice-bucket grip work 2–3 min total
Rule of thumb(s): leave two reps in the tank; your training should support, not sabotage, tomorrow’s caseload.
Technique Swap Map (save this to your phone)
| Goal | High-risk default | Lower-strain swaps |
| Precise deep pressure at TP | Prolonged bare-thumb | Reinforced thumb → knuckle/fist → small elbow circle |
| Broad paraspinal release | Thumb “walk” | Forearm glide with body rock; elbow sweep |
| Sustained ischemic hold | Static thumb press | Tool-assisted hold with micro-oscillation; cycle contact every 15–20s |
| Upper-trap stripping | Reaching across with bent wrist | Step in, lower table, neutral wrist; switch to elbow glide |
| Forearm flexor friction | Pinch grip | Two-hand pincer with neutral wrist; scraper with light strokes |
The 10-Minute Ergonomics Audit (do this once a month)
- Video a 2-minute clip of you treating (consent obtained).
- Check: Are ribs stacked over pelvis? Are wrists neutral? Are you hinging?
- Check table height across tasks (soft tissue vs. joint mobilization).
- Count: How often did you swap away from thumbs?
- Note any “reach & twist” moments → fix layout.
- Pick one cue to focus on next month (e.g., “push from the floor”).
Early Warning Signs & What to Do
- Thumb/CMC ache after 2–3 sessions: Drop loads to reinforced thumb/knuckle for one week; add rice-bucket or putty work (opening/closing, pronation/supination) 2–3 minutes/day.
- Medial elbow tenderness: Reduce sustained grip, use larger contacts, and add forearm eccentric wrist curls 3×12.
- Low-back tightness at day’s end: Re-check table height; hinge more, lunge more, slouch less. Add daily 90/90 breathing + hip flexor stretch.
- Nerve-type pain, night aches, or swelling: Stop aggravators and refer yourself for assessment. Early care beats time off work.
Implementation Plan (4 weeks to lock habits in)
Week 1 – Environment First
- Set table/stool heights, reorganize reach zone, add wall dots.
- Film a 2-minute session; pick one posture cue.
Week 2 – Thumb-Light Toolkit
- Practice three swaps (reinforced thumb, forearm glide, elbow circle).
- Limit bare-thumb pressure to ≤ 30 seconds per site.
Week 3 – Micro-Recovery & Breathing
- Hardwire warm-up + between-patient resets; exhale on effort.
- Add 90/90 breathing at close.
Week 4 – Strength & Scheduling
- Start the 2×/week strength circuits.
- Shuffle calendar to alternate heavy/light cases and add one thumb-light day.
Toolkit
Pain & Pattern Log (1 line per day)
Date — Body area — What aggravated it — What you changed — 0–10 at end of day
Starter shopping list
- Adjustable table (easy up/down)
- Height-adjustable stool with lumbar support
- Small pressure tool and a simple scraper
- Yoga block + rolled towel for thoracic extensions
The bottom line
Ergonomics isn’t a one-time fix—it’s a system. Set up your space, move force from the ground, keep wrists neutral, give your thumbs an exit strategy, and schedule recovery on purpose. Do that, and “longevity” stops being a wish and becomes your operating procedure.